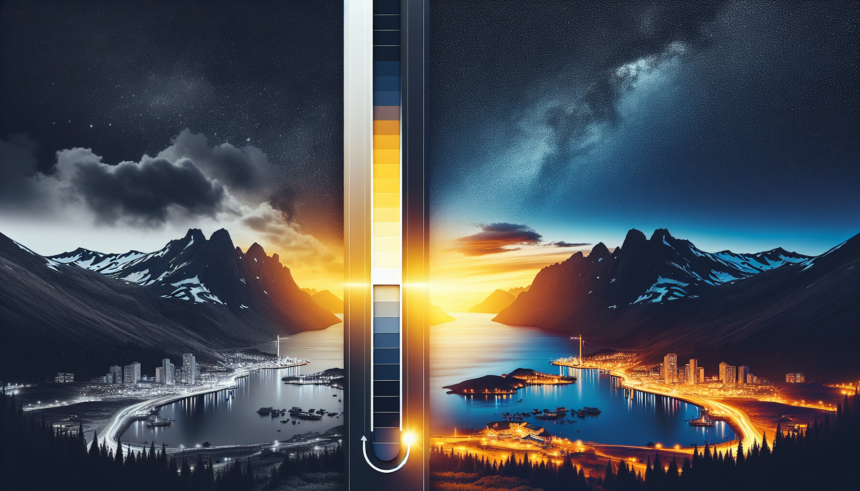
Image color correction is an essential skill in the world of photography, graphic design, and digital media. Having the right color balance can make images look more natural, conveying the right moods and emotions effectively. This guide will walk you through various techniques and tools for mastering the art of image color correction.
Understanding Color Theory
Before diving into the tools and techniques, it’s important to have a grasp of basic color theory. Colors are divided into three categories:
- Primary Colors: Red, Blue, and Yellow. These colors can’t be created by mixing other colors.
- Secondary Colors: Green, Orange, and Purple. These are created by mixing primary colors.
- Tertiary Colors: These are formed by mixing a primary color with a secondary color.
Additionally, understanding concepts like color temperature (warm vs. cool tones), saturation (intensity of color), and luminance (brightness) is essential for effective color correction.
Techniques for Image Color Correction
1. White Balance Adjustment
White balance correction is one of the first steps in color correction. It ensures that white colors appear white, which in turn corrects other colors in the image. This can be done through:
- Automatic White Balance: Most modern cameras and editing software have an automatic white balance feature. However, it may not always be accurate.
- Custom White Balance: Using a white or gray card during shooting can help set a custom white balance for better accuracy.
2. Levels and Curves
Levels and curves are powerful tools for adjusting the tonal range and color balance within an image:
- Levels: This tool allows you to adjust the shadows, midtones, and highlights. By dragging the sliders, you can correct underexposed or overexposed areas.
- Curves: Curves offer more precise control than levels. You can adjust specific points across the tonal range, enabling more detailed adjustments.
3. Hue/Saturation Adjustments
Adjusting the hue and saturation lets you change the overall color balance and intensity of the colors:
- Hue Adjustment: This shifts the colors to different tones.
- Saturation Adjustment: Increasing saturation makes colors more vibrant, while decreasing it makes them more muted.
4. Color Grading
Color grading involves manipulating colors creatively to achieve a particular look or mood. Techniques include:
- Split Toning: Adding different colors to the shadows and highlights to create a more balanced and stylized image.
- Color Lookup Tables (LUTs): Predefined settings that can be applied to images to achieve a specific color grade.
5. Selective Color Correction
This technique involves targeting and adjusting specific colors within the image. For instance, you can make the sky bluer without affecting the colors of other elements. This is often done using masks and selections.
Essential Tools for Image Color Correction
1. Adobe Photoshop
Photoshop is a powerhouse for image editing and contains various advanced tools for color correction:
- Camera Raw Filter: Allows for non-destructive edits to color balance, exposure, and more.
- Adjustment Layers: Layers for hue/saturation, color balance, and more enable flexible and non-destructive color corrections.
- Curves and Levels: As discussed, these tools offer precision and control over tonal and color adjustments.
2. Adobe Lightroom
Lightroom is another excellent tool for photographers, focusing on batch processing and organization:
- Develop Module: Contains tools for white balance, tone curve, HSL (Hue, Saturation, and Luminance) adjustments, and more.
- Presets and Profiles: Quickly apply predefined settings or custom adjustments across multiple images.
3. Capture One
Capture One is known for its superior color balancing capabilities:
- Color Editor: Offers precise control over hue, saturation, and lightness of colors.
- Advanced Color Grading: The tool allows for complex color adjustments and grading to achieve high-quality results.
4. Affinity Photo
Affinity Photo is a budget-friendly yet powerful alternative to Adobe tools:
- Adjustment Layers: Similar to Photoshop, offering tools like levels, curves, and HSL adjustments.
- Live Filters: Non-destructive filter applications for real-time adjustments.
5. Mobile Apps
For quick edits on the go, mobile apps like Adobe Lightroom Mobile, Snapseed, and VSCO provide a range of color correction tools:
- Basic Adjustments: Tools for brightness, contrast, saturation, and warmth.
- Filters and Presets: Apply different looks and styles quickly.
Conclusion
Mastering the art of image color correction requires both a solid understanding of color theory and hands-on practice with the various tools available. Whether you are working with Photoshop, Lightroom, Capture One, Affinity Photo, or mobile apps, the key techniques such as white balance adjustment, levels and curves, hue/saturation adjustments, color grading, and selective color correction will help you produce stunning images. As with any art form, practice and experimentation are crucial. Dive into these tools and techniques, and you’ll find yourself creating visually captivating images in no time.
FAQs
1. What is the difference between color correction and color grading?
Color correction involves making the colors in an image appear more natural and balanced. It addresses issues like white balance, exposure, and contrast. Color grading, on the other hand, is a more creative process that manipulates colors to achieve a specific look or mood.
2. Why is white balance important in color correction?
White balance is crucial because it ensures that white colors appear white in an image. This baseline correction helps in accurately rendering other colors, making the entire image look natural and true to life.
3. Can I achieve professional-grade color correction using mobile apps?
While mobile apps have come a long way and offer many powerful tools, they still lack some of the advanced features available in desktop software like Photoshop or Lightroom. However, for quick edits and social media posts, mobile apps can be very effective.
4. What are Color Lookup Tables (LUTs) and how do they help in color correction?
Color Lookup Tables (LUTs) are predefined settings that can be applied to images to achieve a specific color grade. They streamline the color correction process, making it easier to apply consistent color settings across multiple images or videos.
5. How often should I use selective color correction?
Selective color correction should be used when specific colors in the image need adjustment without affecting other colors. For instance, if the sky looks too dull or the skin tones appear off, selective color correction can target these specific areas without altering the entire image.


