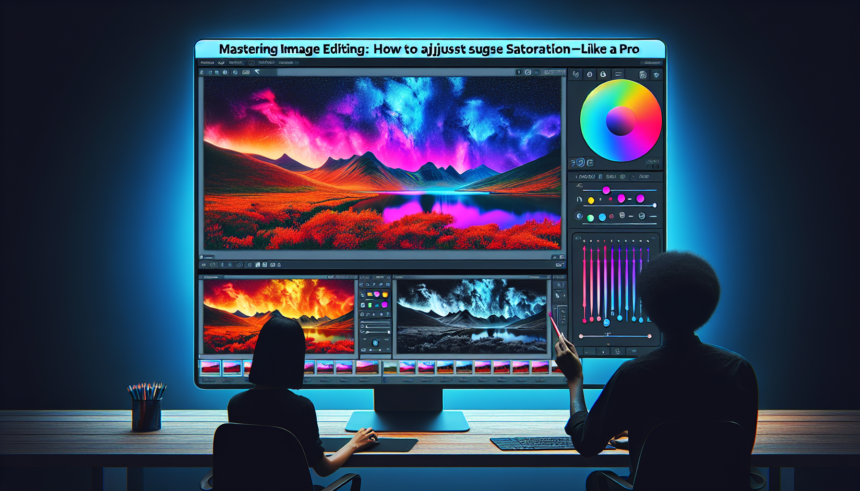
Image editing is a critical skill for photographers, designers, and digital artists. One of the most powerful tools in their toolkit is the ability to adjust saturation. Saturation refers to the intensity and purity of colors in an image. Properly adjusting saturation can bring your images to life, adding vibrancy and impact while maintaining a natural look. In this article, we will delve deep into the art of mastering image editing, specifically focusing on how to adjust saturation like a pro.
Understanding Saturation
Saturation is one of the three elements used to describe color, along with hue and brightness. It measures the degree to which a color differs from a neutral gray of the same brightness. High saturation means colors are vivid and intense; low saturation means colors are muted and closer to gray. Adjusting saturation can make colors pop or tone them down based on the desired outcome.
Getting Started with Image Editing Software
Before diving into saturation adjustments, you need the right tools. Various image editing software options are available, such as:
- Adobe Photoshop
- Adobe Lightroom
- GIMP
- Corel PaintShop Pro
- Affinity Photo
All these tools offer the ability to adjust saturation, along with other essential editing features. Choose one that fits your workflow and budget.
Steps for Adjusting Saturation
Here’s a step-by-step guide to adjusting saturation:
- Open Your Image: Load your image into your chosen image editing software.
- Locate Saturation Controls: Find the saturation adjustment tool. This is usually under Adjustments in the top menu or in the side panel.
- Choose the Correct Adjustment Layer (if applicable): In software like Photoshop, it’s wise to use an adjustment layer to keep edits non-destructive.
- Adjust Overall Saturation: Use the slider to increase or decrease the saturation. A good practice is to make small adjustments and evaluate the impact as you go.
- Target Specific Colors (if needed): You can often adjust saturation for specific color ranges (e.g., reds, greens, blues) rather than the whole image.
- Review and Refine: Review your image at different zoom levels to ensure the adjustments look good at all scales.
- Finalize Your Edits: Once satisfied, save your image in the desired format.
Advanced Techniques for Saturation Adjustment
For those looking to elevate their saturation adjustment skills, consider these advanced techniques:
Selective Saturation Adjustment
Selective saturation adjustment allows you to tweak specific colors without affecting the entire image. Tools like the HSL (Hue, Saturation, Lightness) panel in Lightroom or the Selective Color adjustment in Photoshop are perfect for this.
Using Masks
Masks offer a non-destructive way to apply saturation adjustments selectively. You can paint on a mask to limit the area where the saturation change applies. This is particularly useful for images with mixed lighting conditions or for highlighting specific subjects.
Utilizing Blending Modes
Blending modes can drastically change how your saturation adjustments interact with the underlying image. Experiment with modes like “Saturation” or “Color” to obtain different effects.
Combining with Other Adjustments
Saturation works best in conjunction with other adjustments like contrast, brightness, and color balance. Proper integration can produce more natural and appealing results.
Common Mistakes to Avoid
Even seasoned editors can fall into common traps when adjusting saturation. Here are a few to watch out for:
Over-Saturation
Over-saturation is a frequent mistake where colors become unnaturally vivid. This can lead to an artificial look and loss of detail. Always aim for a balance and check how the saturation adjustments look on different screens.
Ignoring Skin Tones
When editing portraits, it’s crucial to pay close attention to skin tones. Over-saturating skin can result in unnatural and unflattering colors. Use selective adjustments to enhance other parts of the image without affecting skin tones.
Neglecting Color Theory
Applying saturation without considering color theory can lead to jarring and unbalanced images. Familiarize yourself with basic color theory principles to create harmonious and visually appealing results.
Practical Applications of Saturation Adjustment
Saturation adjustments are widely used across various fields. Here are a few practical applications:
Portrait Photography
In portrait photography, subtle saturation adjustments can enhance facial features and clothing colors without impacting skin tones. Ensure the subject remains natural and lifelike.
Landscape Photography
For landscape photography, boosting the saturation of specific colors like greens, blues, and sunsets can create breathtaking and vivid images. Be mindful of keeping the overall scene natural.
Product Photography
In product photography, saturation adjustments can make products look more appealing and true to life. Pay attention to brand colors to maintain consistency.
Advertising and Marketing
Advertising often relies on bold, vibrant images to catch the viewer’s attention. Strategic saturation adjustments can make marketing materials more compelling and visually striking.
Conclusion
Mastering the art of saturation adjustment is a vital skill for anyone involved in image editing. By understanding the fundamentals, leveraging advanced techniques, and avoiding common pitfalls, you can create stunning and impactful images. Practice regularly, experiment with different settings, and always aim for a natural and balanced look. With these tips, you’ll be well on your way to adjusting saturation like a pro.
FAQs
1. What is saturation in image editing?
Saturation measures the intensity and purity of colors in an image. High saturation means vivid colors, while low saturation means muted, grayish colors.
2. Can I adjust saturation on my smartphone?
Yes, many smartphone apps like Adobe Lightroom, Snapseed, and VSCO offer saturation adjustment tools. These apps provide a range of features for on-the-go editing.
3. How do I avoid over-saturating my images?
To avoid over-saturation, make small incremental adjustments and frequently compare the edited image to the original. Viewing the image on different screens can also help ensure natural-looking results.
4. What is selective saturation, and why is it important?
Selective saturation allows you to target specific colors in an image for adjustment. This approach is crucial for maintaining natural skin tones or highlighting particular elements without affecting the entire image.
5. How can I practice my saturation adjustment skills?
Practice by editing various images, including portraits, landscapes, and product photos. Experiment with different software and techniques, and seek feedback from peers or online communities to refine your skills.


