The realm of digital photography is brimming with tools that can transform a simple snapshot into a visual masterpiece. Among these tools, hue adjustment stands out as a potent and versatile method for altering the color properties of an image. Mastering hue adjustment can take your photography skills to new heights and enable you to breathe life into your images in a way that resonates with your artistic vision.
Understanding Hue
Hue refers to the attribute of a color that allows it to be categorized as red, blue, green, etc. It is one of the main properties of a color, the other two being saturation (the intensity or vividness of the color) and brightness (the lightness or darkness of the color). When adjusting the hue, you’re essentially rotating the colors in a circular color model, shifting them to different hues while keeping their luminance intact.
The Importance of Hue Adjustment
Hue adjustment is not merely a technical tweak; it’s a creative endeavor that can significantly impact the mood, tone, and overall feel of an image. By adjusting hues, photographers can:
- Correct color casts: Sometimes, a photo can have an undesired color tint due to lighting conditions or camera settings. Hue adjustment helps correct these to achieve a more natural look.
- Enhance artistic expression: By altering hues, photographers can convey specific moods and emotions. For instance, warmer hues (reds, oranges) can evoke feelings of warmth and comfort, while cooler hues (blues, greens) can produce a calming and tranquil effect.
- Create surreal or abstract images: Hue adjustment can be used to create imaginative and unconventional color schemes that defy reality, making for compelling and visually striking images.
- Highlight important elements: Certain hues can draw attention to specific parts of an image, effectively guiding the viewer’s eye through the composition.
Tools for Hue Adjustment
Most photo editing software includes tools for hue adjustment. Some of the most popular tools are:
- Adobe Photoshop: Photoshop offers robust tools like the Hue/Saturation adjustment layer, which allows you to target specific colors and adjust their hues independently.
- Adobe Lightroom: Lightroom’s HSL (Hue, Saturation, Luminance) panel provides sliders for adjusting hues of different color ranges, offering a straightforward way to tweak image colors.
- Capture One: This software provides advanced color grading tools, including a color editor that allows precise hue adjustments.
- GIMP: This free software offers a Colorize tool and Hue-Saturation feature, suitable for basic hue adjustments.
Techniques for Effective Hue Adjustment
Effective hue adjustment requires both technical knowledge and an artistic eye. Here are some key techniques to master:
1. Use Layer Masks
When working on complex images, it’s crucial to isolate specific areas for hue adjustment without affecting the entire image. Layer masks allow you to apply adjustments only to selected parts of the image. This precision ensures that unwanted areas remain untouched.
2. Adjust Selective Colors
Sometimes you need to adjust the hue of just one color range while keeping the rest of the image intact. Tools like the Hue/Saturation adjustment layer in Photoshop or the HSL panel in Lightroom let you target specific color bands. For example, if you want to change the hue of the sky but not the landscape, you can specifically adjust the blues while leaving the greens and other colors unaffected.
3. Maintain Natural Skin Tones
Portrait photographers must be particularly cautious with hue adjustments as skin tones can easily look unnatural if altered too much. Use the selective color technique to ensure that skin tones are minimally impacted while adjusting other colors.
4. Use Color Wheels
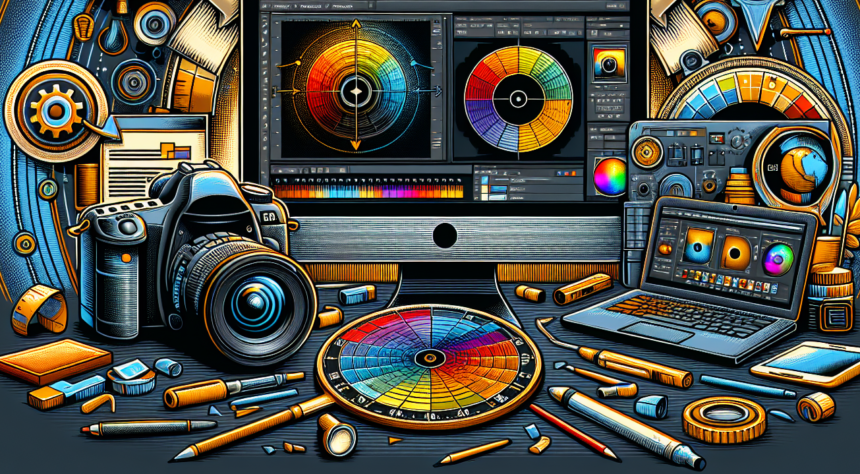
Some advanced photo editing tools offer color wheels, which provide a more intuitive and visual method of adjusting hues. Color wheels allow for precise and harmonious color corrections, making it easier to achieve the desired look.
5. Experiment with Split Toning
Split toning involves adjusting the hues of the highlights and shadows independently. This technique can create a pleasing color contrast within an image. For example, adding a cool hue to the shadows and a warm hue to the highlights can lend a cinematic vibe to your photographs.
Common Pitfalls and How to Avoid Them
While hue adjustment can dramatically enhance your images, there are some common pitfalls to be mindful of:
1. Over-Saturation
It’s easy to get carried away with hue adjustments, but over-saturating colors can result in unnatural and jarring images. Always aim for a balance where colors look vibrant yet believable.
2. Color Banding
Excessive hue adjustments can sometimes cause color banding, where smooth gradients are broken into visible bands of color. To avoid this, make subtle adjustments and utilize high-bit-depth images whenever possible.
3. Ignoring Color Theory
Understanding basic color theory is essential for effective hue adjustment. Complementary colors (colors opposite each other on the color wheel) tend to look harmonious together, whereas clashing colors can make an image look chaotic. Use color theory principles to guide your adjustments.
Conclusion
Mastering hue adjustment in digital photography is both an art and a science. It requires a deep understanding of color theory, technical proficiency with editing tools, and a keen eye for detail. By practicing and experimenting with different techniques and software, you can harness the power of hue adjustment to create compelling, emotive, and visually stunning photographs. Whether you’re correcting color casts, enhancing artistic expression, or crafting surreal compositions, the possibilities are as limitless as your imagination.
Frequently Asked Questions
1. What is the difference between hue, saturation, and luminance?
Hue refers to the specific color in the color spectrum (such as red, blue, green). Saturation describes the intensity or vividness of the color. Luminance, or brightness, indicates how light or dark the color is. Adjusting these parameters can significantly affect the appearance of an image.
2. Can I adjust hues on my smartphone?
Yes, many smartphone apps, such as Adobe Lightroom Mobile, Snapseed, and VSCO, offer tools for hue adjustment. While these may not be as advanced as desktop software, they are quite powerful for on-the-go edits.
3. How do I avoid unnatural skin tones when adjusting hues?
To avoid unnatural skin tones, use selective color adjustment techniques. Tools in Photoshop or Lightroom allow for targeting specific color ranges, so you can alter hues in other parts of the image while keeping skin tones natural.
4. What is the best software for beginners to start with hue adjustment?
Adobe Lightroom is often recommended for beginners because of its user-friendly interface and powerful HSL panel. It offers a good balance between simplicity and advanced features, making it ideal for those new to hue adjustment.
5. How can I ensure my hues look balanced across different devices?
Color calibration of your monitor can help ensure that your hues appear consistent across different devices. Additionally, exporting images in commonly accepted color profiles like sRGB can help maintain color consistency when images are viewed on various screens.


