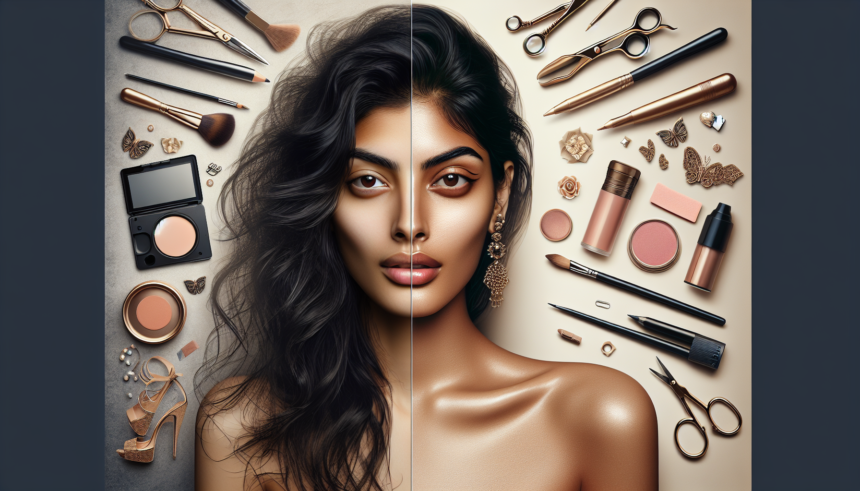
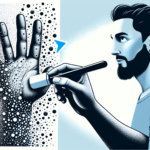
High-end beauty retouching is a specialized art that goes beyond basic photo editing. It involves intricate techniques to enhance the natural beauty of the model while maintaining a realistic appearance. This article delves into the nuances and techniques that make high-end beauty retouching a true art form.
Understanding High-End Beauty Retouching
High-end beauty retouching is about striking a balance. The goal is to make the subject look their best without creating an overdone, artificial appearance. This requires a deep understanding of both the technical and artistic aspects of photo editing. Here are some critical elements to consider:
- Skin Retouching: Aim to preserve skin texture while removing blemishes and imperfections. Techniques like frequency separation and dodge & burn are essential.
- Color Correction: Ensure skin tones are even and natural. Correct any color casts and enhance the colors subtly.
- Sharpening: Add sharpness to eyes, lips, and other details to make the image pop. Use techniques like high-pass filter and smart sharpening.
- Lighting Adjustments: Enhance the lighting to add depth and dimension. This includes contouring and highlighting key areas.
Essential Tools and Software
To excel in high-end beauty retouching, you need the right tools and software. Adobe Photoshop is the industry standard for this kind of work. Here are some essential tools within Photoshop:
- Healing Brush and Clone Stamp: Used for removing blemishes and imperfections.
- Dodge & Burn: Essential for detailed lighting adjustments and enhancing facial features.
- Frequency Separation: Splits the image into high-frequency (texture) and low-frequency (color) layers for precise editing.
- Adjustment Layers: Used for color correction and toning without affecting the original image.
Techniques for Mastery
Achieving mastery in high-end beauty retouching involves learning and perfecting various techniques. Here are some advanced methods to elevate your retouching skills:
Frequency Separation
Frequency separation is a powerful technique that separates texture from color. This allows you to work on each aspect independently, enabling precise skin retouching without losing texture.
- Start by duplicating your image twice.
- Apply a Gaussian Blur to the first duplicate to smooth out the color.
- Use the “Apply Image” command to subtract the blurred version from the second duplicate, setting the blending mode to “Linear Light”.
- You now have two layers: one for texture and one for color. Edit them independently for flawless skin.
Dodge & Burn
Dodge & Burn is crucial for creating depth, dimension, and enhancing facial features. This technique involves lightening and darkening specific areas to achieve the desired effect.
- Create two new layers: one for dodging (lightening) and one for burning (darkening).
- Set these layers to “Overlay” blending mode and fill them with 50% gray.
- Use a soft brush with low opacity to paint on these layers, subtly enhancing highlights and shadows.
Color Correction and Toning
Color correction ensures that the skin tones are even and natural. Use adjustment layers to make non-destructive edits.
- Use the “Curves” adjustment layer for precise color correction.
- Adjust the reds, greens, and blues individually to correct any color cast.
- Use “Hue/Saturation” adjustment layers to fine-tune specific colors.
Maintaining Realism
One of the biggest challenges in high-end beauty retouching is maintaining realism. Over-editing can lead to an unnatural, plastic look. Here are some tips to keep your retouching realistic:
- Zoom In and Out: Regularly zoom in to work on details and zoom out to see the overall effect.
- Take Breaks: Step away from your work periodically to avoid over-editing.
- Use Reference Images: Have natural, untouched images as references for maintaining realistic skin texture and tones.
- Less is More: Remember, subtle edits often have the most profound impact. Aim for a natural look over perfection.
Practice and Patience
Mastering the art of high-end beauty retouching requires practice and patience. Here are some ways to build your skills:
- Study Works of Experts: Look at high-end beauty retouching works from professionals to understand their techniques.
- Take Online Courses: Many online courses focus specifically on high-end beauty retouching. These can provide structured learning and advanced insights.
- Experiment with Techniques: Try out different techniques and methods. The more you experiment, the more you learn.
- Gather Feedback: Share your work with other photographers and retouchers. Constructive feedback can help you improve.
Conclusion
Mastering the art of high-end beauty retouching is a journey that combines technical skills with artistic vision. By understanding the essential tools, techniques, and maintaining a realistic approach, you can elevate your work to new heights. Remember, practice and patience are key. The more you immerse yourself in learning and refining your craft, the closer you will come to mastering this intricate art form.
FAQs
1. What are the best tools for high-end beauty retouching?
Adobe Photoshop is the industry standard for high-end beauty retouching. Essential tools within Photoshop include the Healing Brush, Clone Stamp, Dodge & Burn tools, Frequency Separation, and Adjustment Layers.
2. How do you maintain a natural look in beauty retouching?
To maintain a natural look, use non-destructive editing techniques, such as adjustment layers and frequency separation. Regularly zoom in and out to check your progress, take breaks to avoid over-editing, and use reference images to guide you. Less is often more when aiming for a natural appearance.
3. What is Frequency Separation?
Frequency separation is a technique that separates an image into texture and color layers. This allows for precise skin retouching without losing texture. You can smooth out the color on one layer while preserving the skin texture on another.
4. How can I get better at high-end beauty retouching?
Improving your high-end beauty retouching skills requires practice and continuous learning. Study works of experts, take online courses, experiment with different techniques, and seek constructive feedback from other professionals in the field.
5. What are Dodge & Burn techniques used for?
Dodge & Burn techniques are used to lighten and darken specific areas of an image to create depth and dimension. They are essential for enhancing facial features, adding contouring, and creating a more dynamic and realistic image.


